Want to learn how to add image hover effects in WordPress?
Image hover effects can make your site more interactive and engaging. This creates a better first impression and improves the time spent on your site.
In this article, we’ll show you how to add image hover effects in WordPress, step by step.
What Are Image Hover Effects?
Image hover effects allow you to add interactive elements to your static images such as animations, zoom effect, popup, and more.
For example, you could have images that flip to reveal your pricing or links to your portfolio.
Image hovers also give you a creative way to display your photos, galleries, and thumbnails.
Interactive images and hover elements can help your site out in a lot of ways:
- Improve the time your visitors spend on your site
- Give you creative ways to present content to your visitors
- Let your users know a site element is clickable
How to Create Image Hover Effects in WordPress
The best way to add image hover effects to your WordPress website is by using a WordPress plugin.
With a plugin, you don’t have to spend time editing, formatting, and adding CSS to create image effects. It just works.
There are all kinds of plugins you can use to create unique image hover effects and animations.
In this tutorial, we’ll show you the four different ways to add the hover effects you need.
- Adding Image Hover Flipbox Effects in WordPress
- Adding Image Zoom and Magnify Effects in WordPress
- Adding Image Animation Effects in WordPress
- Adding Image Hover Popup Effects in WordPress
1. Adding Image Hover Flipbox Effects in WordPress
A flip box is a box that flips over when your mouse hovers over it.
You can add this animation to your images to reveal text or even change the image on hover.
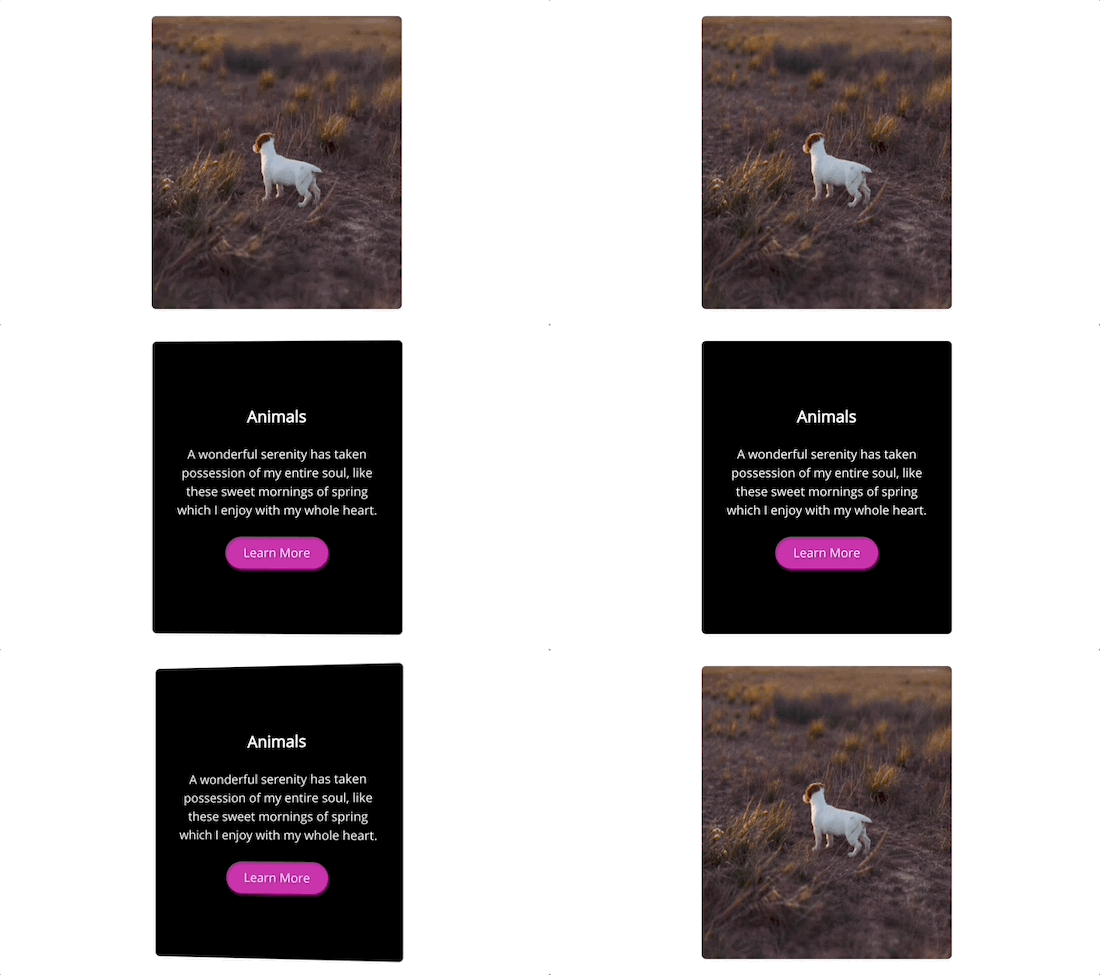
You can control how the image flips, along with the design of the image on both sides.
If you’re a photographer, you can use this to showcase your work and separate your portfolios.
The easiest way to add image flipbox effects is with a WordPress plugin. A plugin lets you create and customize these effects quickly.
We recommend using the Flipbox – Awesomes Flip Boxes Image Overlay plugin. It’s the best flipbox and image hover plugin for WordPress.
This plugin lets you simply add custom flipbox effects to your WordPress images.
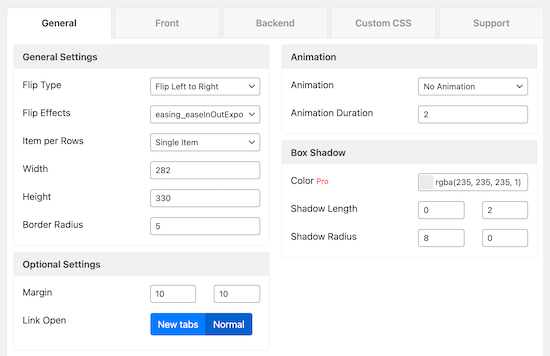
It comes with dozens of different animation effects and pre-built templates. You can even control the colors and add your own custom CSS.
For more details, see our guide on how to create flipbox overlays and hovers in WordPress.
2. Adding Image Zoom and Magnify Effects in WordPress
Image zoom effects let your users see details they wouldn’t be able to see in a normal sized image.
This is a great effect for product tutorials and images with high levels of detail.
You can also use it on your online store to add zoom effect like Amazon.
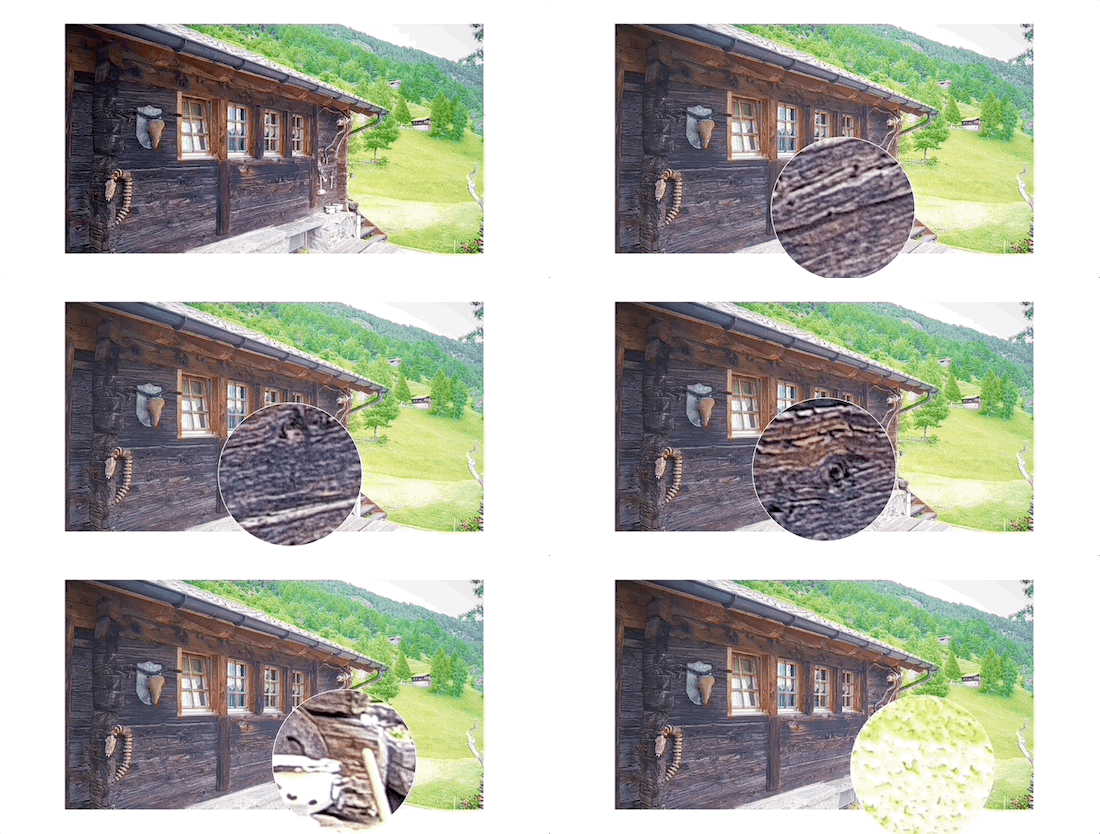
The easiest way to add image zoom and magnify effects to your images is by using a WordPress plugin.
We recommend using the WP Image Zoom plugin. This plugin lets you simply add zoom and magnify effects to your images.
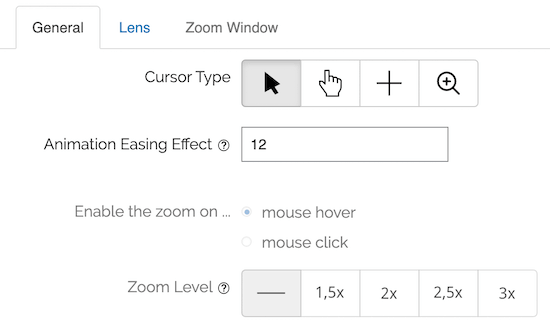
It’s also equipped with features that let you choose the shape of the zoom lens, the level of zoom, and much more.
For more details, see our guide on how to add magnifying zoom for images in WordPress.
3. Adding Image Animation Effects in WordPress
There are all kinds of additional hover effects you can add to WordPress.
For example, you have animated image galleries, lightbox images, comparison images, text overlays, and more.
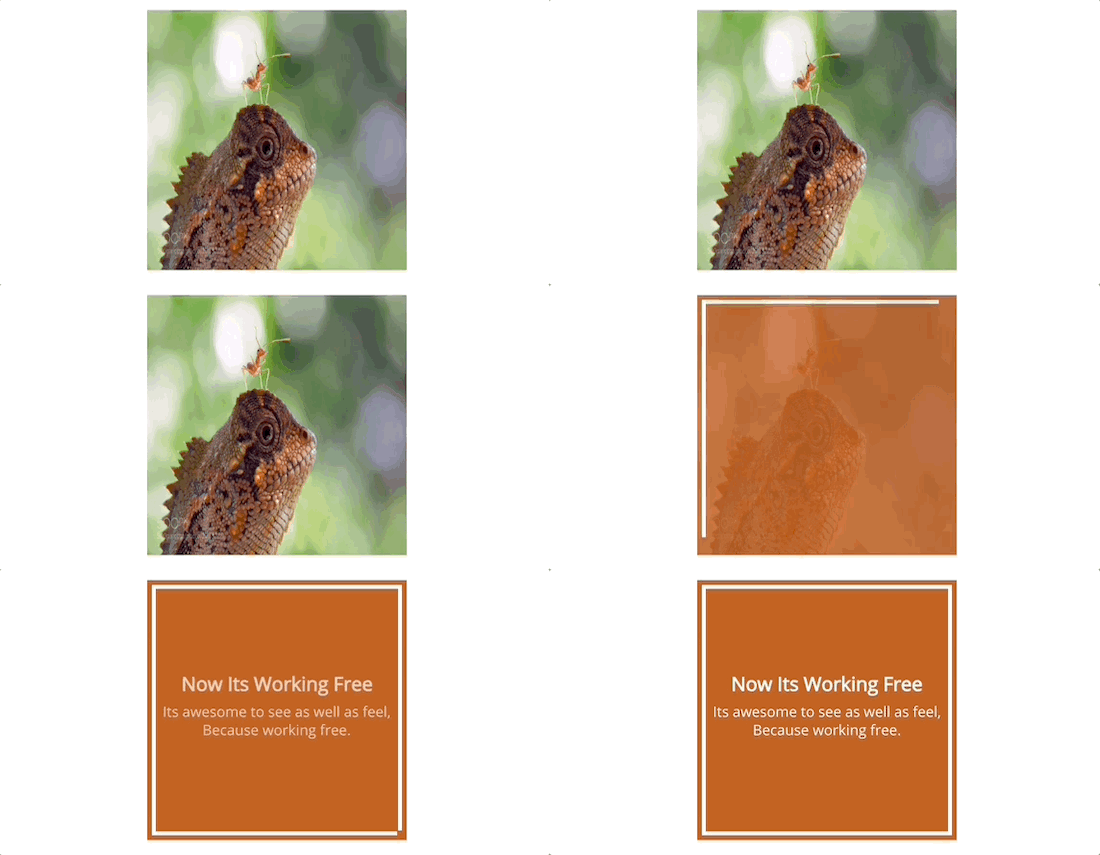
To add hover effects like these we recommend using the Image Hover Effects Ultimate plugin.
This plugin is very lightweight, so it won’t impact with your website performance and loading speeds. It’s also very easy to use. You can add unique image effects with a couple of clicks.
First thing you need to do is install and activate the Image Hover Effects Ultimate plugin. For more details, see our step by step guide on how to install a WordPress plugin.
Once you’ve installed and activated the plugin, you need to click on ‘Image Hover’ in your WordPress admin. This will bring up eight different image hover effects you can choose from.
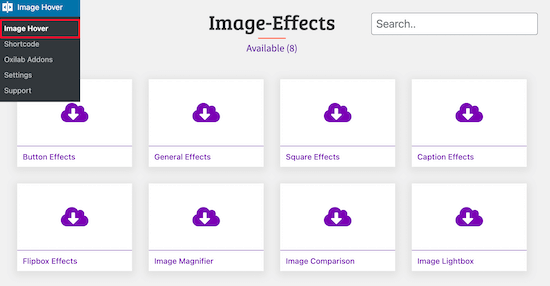
For this tutorial, we’ll use the ‘Caption Effects’ effect. This adds animated text over your image on a mouse hover.
First, click on the ‘Caption Effects’ box. This brings up a menu of different animation options to choose between.
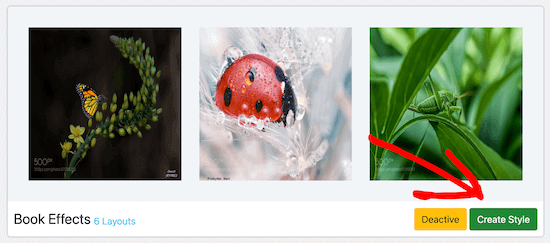
Once you’ve found the image effect you like, click ‘Create Style’.
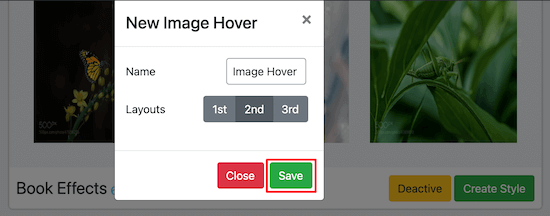
In the popup box, name your hover effect and choose the layout. The layout number you select matches the ordered sequence of images.
Remember to click ‘Save’.
On the next screen, you’ll have a variety of options to customize your hover effect.
However, we’ll leave the default animation options.
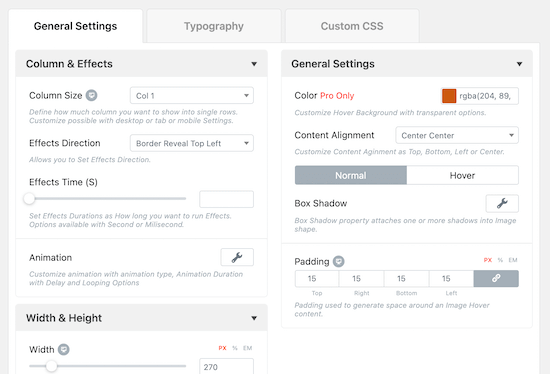
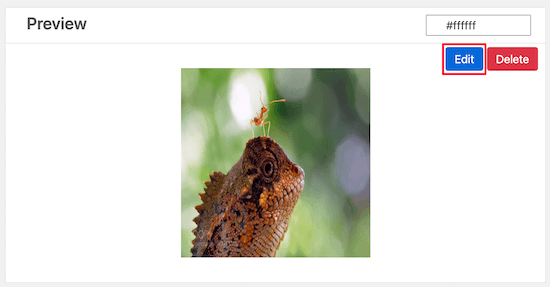
If you make changes, you’ll see them appear in the ‘Preview’ box.
To change the default image, hover over the image and click the ‘Edit’ option.
In this popup you can change your title and description that’ll appear on hover.
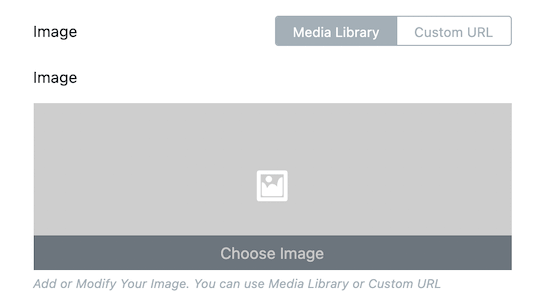
To upload your image, click the box beneath the ‘Image’ title and upload or select an image from your media library.
You can also add a link and button text if you want your image to take users to another page on your website.
Once you’re finished, click ‘Submit’.

To add the image to your website, copy the shortcode in the ‘Shortcode’ box.
Then, open any page, post, or widget where you want your image to appear and paste the shortcode.

Make sure you click ‘Publish’ or ‘Update’ to save your changes and make your image hover effect live.
4. Adding Image Hover Popup Effects in WordPress
The plugins above will help you add features like flip boxes, hover effects, animations, and more.
What if you want to add a different image hover effect not covered by the plugins above?
The best way to do this is with a WordPress custom CSS plugin. This lets you make visual changes to your images without having to edit any code.
You can edit your CSS files manually or add CSS via the WordPress customizer, however, using a plugin is the easiest option.
We recommend using the CSS Hero plugin. This plugin lets you edit almost every single CSS style on your WordPress site without writing a line of code.
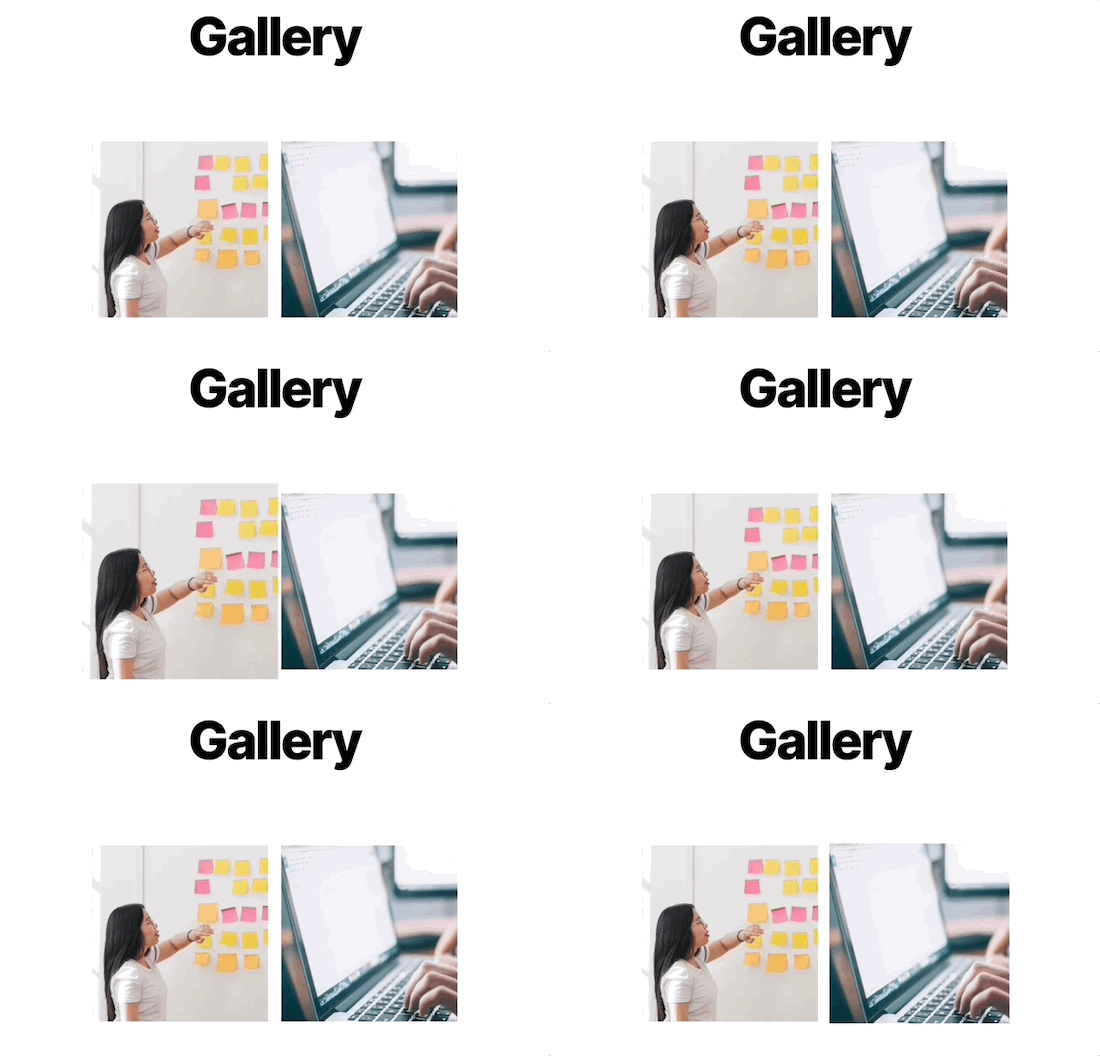
There are all kinds of built-in CSS effects specifically for images.
For more details on installing a plugin, see our guide on how to install a WordPress plugin.
Once the plugin is installed you’ll need to click the ‘Proceed to Product Activation’ button.
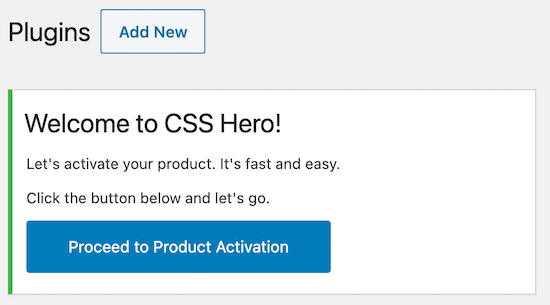
This will guide you through plugin activation process.
After the plugin is activated you can start customizing your images.
Open up a page or post that has the image or images you want to animate and click ‘CSS Hero’ at the top of the page.
This will open up the editor menu where you can add all kinds of different CSS effects.
We’re going to add an image popup on hover effect. First, you’ll need to click on the image you want to edit, then click ‘Snippets’.
After that, click ‘Hover Effects’.
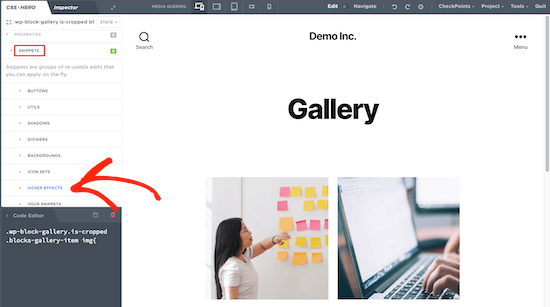
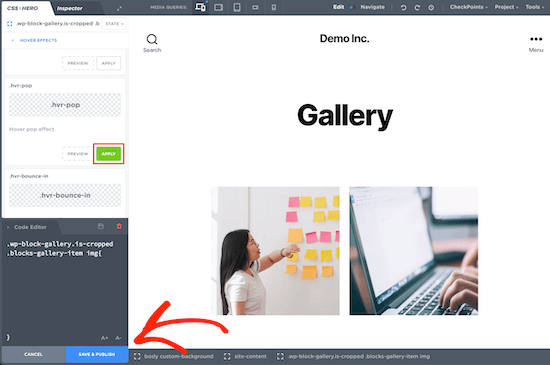
This will bring up a menu of different CSS effects. Next, select the ‘.hvr-pop’ effect and click ‘Apply’.
Click ‘Save & Publish’ and the CSS effect will automatically apply to your images.
We hope this article helped you learn how to add image hover effects in WordPress. You may also want to see our guide on how to optimize images for the web and our beginner’s guide to image SEO.
If you liked this article, then please subscribe to our YouTube Channel for WordPress video tutorials. You can also find us on Twitter and Facebook.
The post How to Add Image Hover Effects in WordPress (Step by Step) appeared first on WPBeginner.

