How to Install and Configure Ansible on Windows
It requires a simple platform like Linux, but we will need the windows subsystem for running this tool on Windows.
Consider the stepwise installation process:
- Go to Microsoft Store, search for ubuntu and install the app.
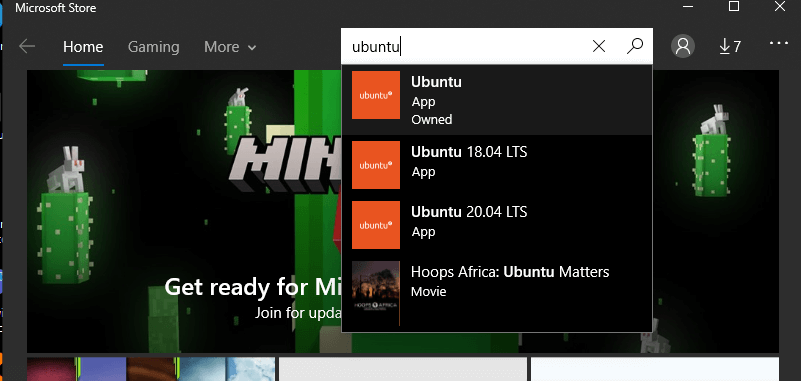
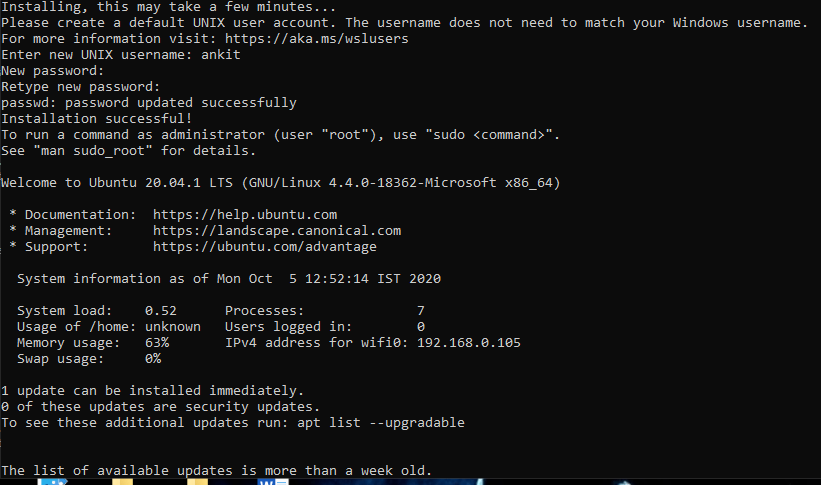
- After installing the app, please open it and run. It will take a few minutes, depending upon your PC’s performance. After that, you have to enter the name and password as per your choice.
- It will again take a few more minutes, after which a confirmation statement will appear, and you have to proceed by typing ‘y‘. Once you confirm it, you will see a green-colored statement: “sudo-apt-add-repository ppa:ansible/ ansible”.
In case if this didn’t work, then you will have to write another statement “sudo apt update” to update it.
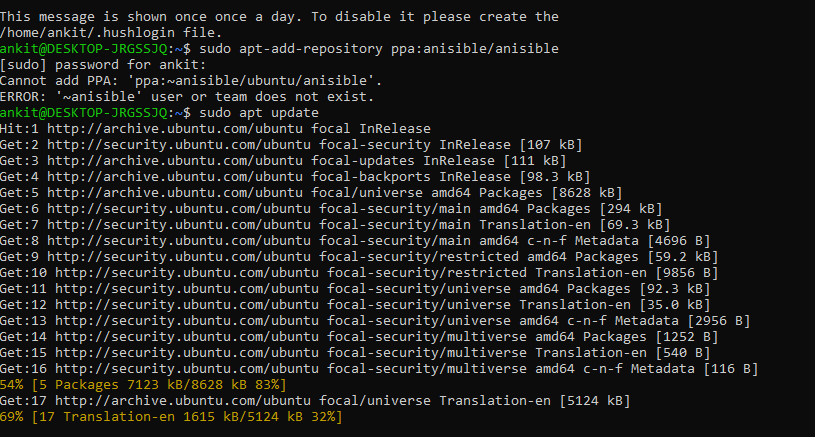
- After now, you have to install all the packages related to Ansible.
- You will have to wait again until the installation complete. To check if it is successfully installed or not, write the following statement;
Write Ansible –version.
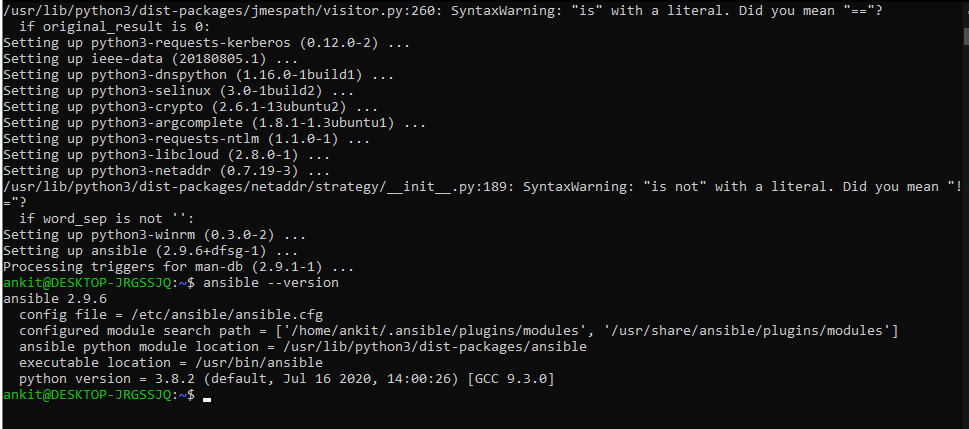
If you still face any problem regarding the installation of Ansible on windows using the ubuntu application, install mobaxterm on windows as it will create a Linux environment on Windows.
Consider the following steps:
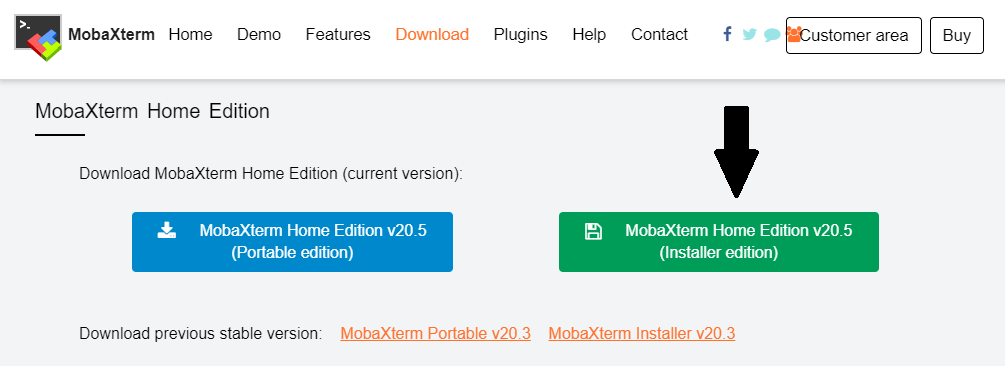
- Click on the link https://mobaxterm.mobatek.net/download-home-edition.html, and you will be redirected to the page shown in the below image. Next, click on installer edition.
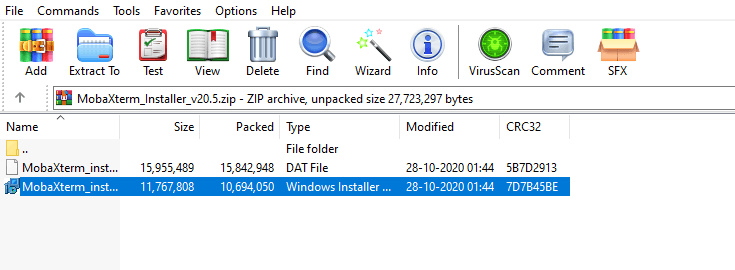
- After its downloaded, unzip and extract the application in any folder.
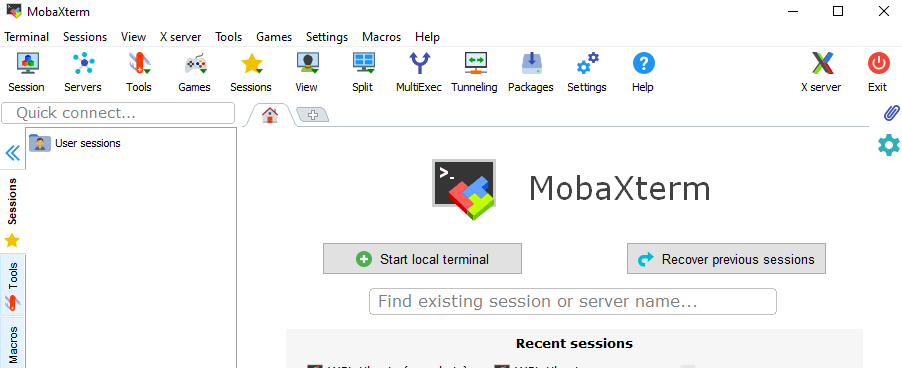
- Once the application is installed, it is ready to use.
- Here, I am using EC2 from a service of AWS management console of Amazon. You can also use it by creating a free user account.
https://aws.amazon.com/console/

- After creating the account, go to services, select EC2 and then launch instances. You have to put one instance at a time, followed by selecting the security groups simply by clicking on the add rule. Next select HTTPS and other groups having port no. 8080.

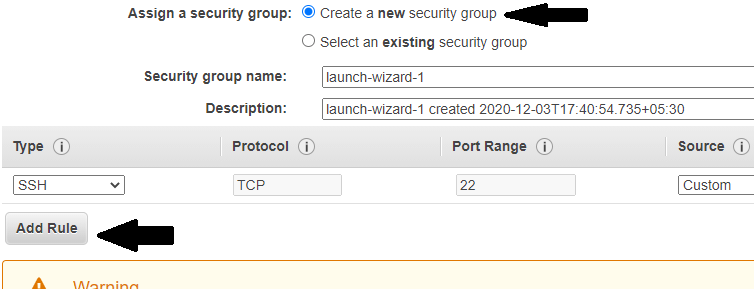


- In the next step, click on Review and Launch. Then create and download keypair; it will be used later.

- Now click on the session and select ssh. After that, put the host IP address (public IP address) and click on advanced SSH settings, followed by inserting the private key, which you have downloaded from the AWS website.
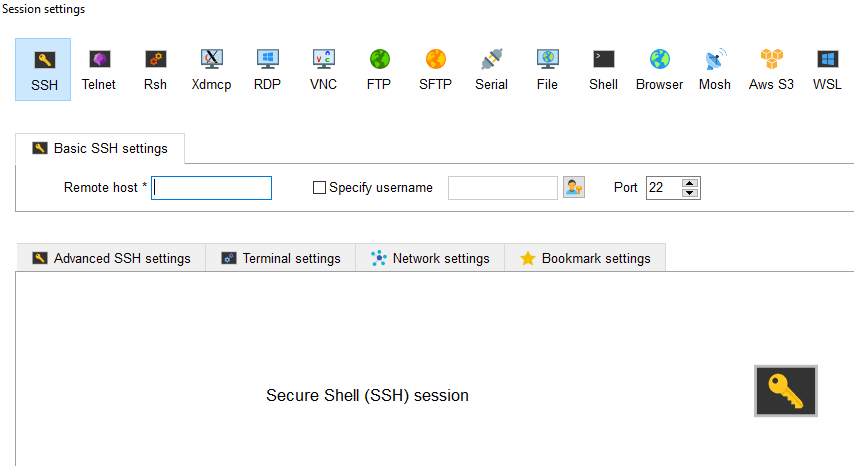
- Once you fill in the necessary details, click on Ok, and you will see the screen something as given below.
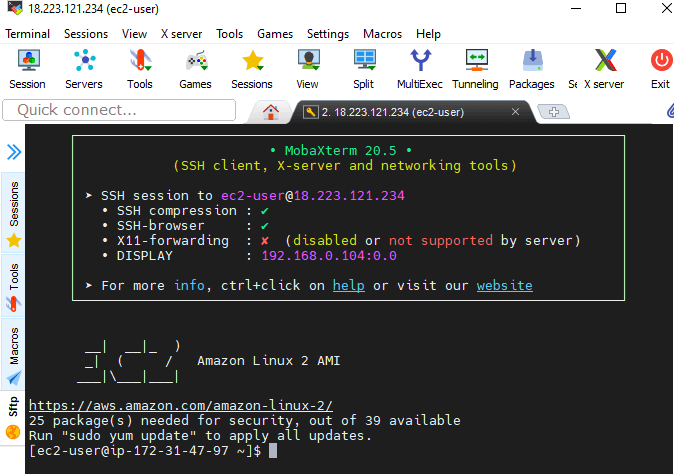
- Now you have a Linux system where you can run your ansible commands, but it still requires some finishing. Actually, it is the right time to configure an ansible system.
- For making a hostname, write the commands as shown in the image; it will ask you to root and to do that, use the sudo su – command as the hostname that we created here is not permanent.
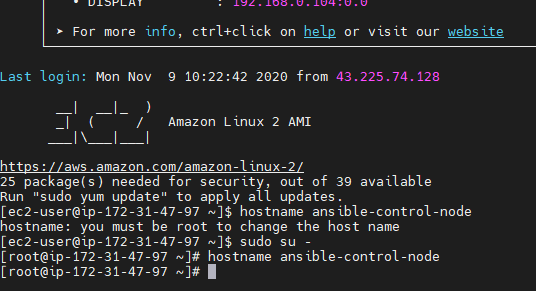
- For making a permanent hostname, write the command vi /etc/hostname/ followed by entering any name in the editor and then save it.

- After saving the hostname, open the new tab, and you will see your hostname is successfully updated.