TheStreet aims to feature only the best products and services. If you buy something via one of our links, we may earn a commission.
The regularly performed chores, like vacuuming floors, dusting bookshelves, and scrubbing toilets, are easy enough to remember on a week-to-week basis. Then there are the household cleaning projects completed just once or twice throughout the year, like flipping over the mattress, purging the cluttered closet, and replacing air conditioner filters, making them easy to forget or slip your mind completely. However, there’s one item on any annual cleaning to-do list that you won’t want to gloss over: the dryer vent cleaning. Clogged and dirty dryer vents are a leading cause of house fires, but prevention is easy and can cost under $10 to do yourself.
What is dryer vent cleaning?
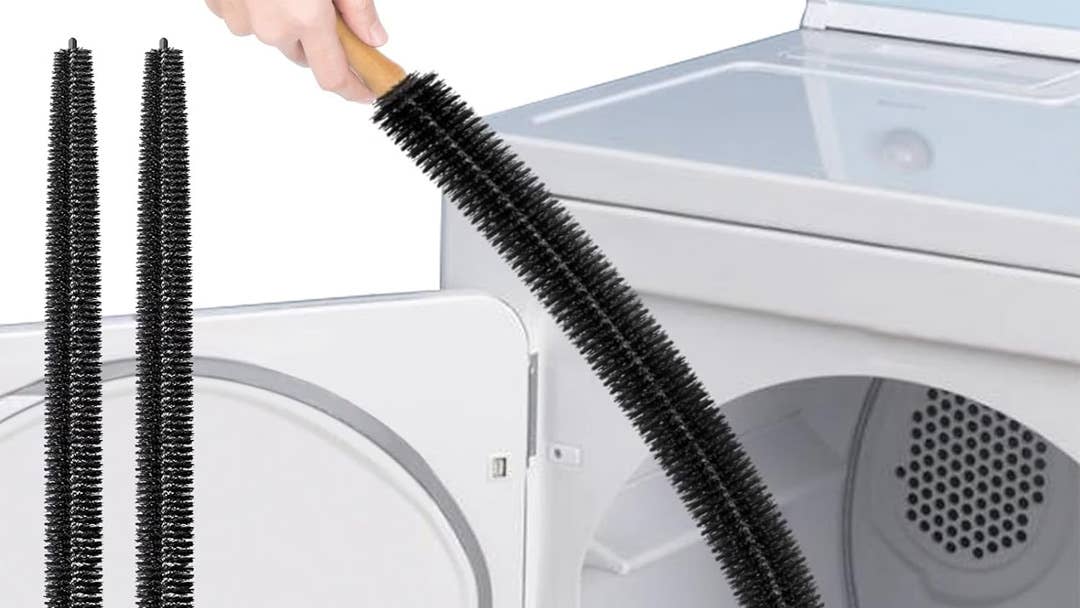
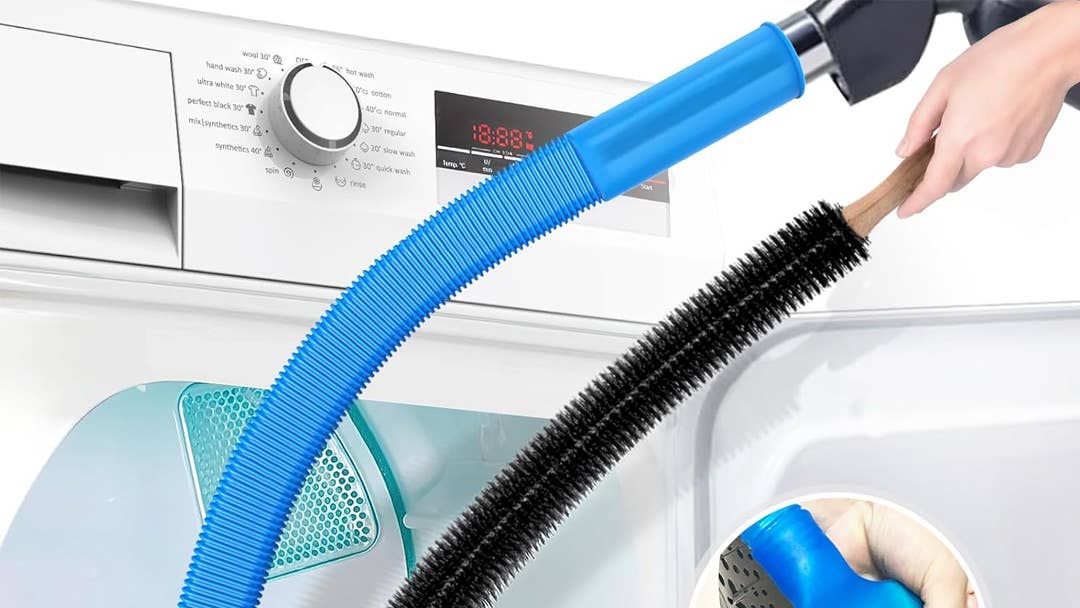
If you have a washer and dryer installed in your home, you should clean out the dryer vent at least once per year. This goes beyond just cleaning the lint trap (which should be checked after every dry cycle) and includes disconnecting the duct from the vent and vacuuming up all the lint, fuzz, and dust that’s trapped inside. You can find flexible brushes that wrap down into the lint trap to get any flyaways for under $10 at Walmart, like the Dryvenck 2-Piece Dryer Vent Brush. Another popular method is using these brushes in conjunction with a vacuum hose attachment for even more cleaning power, and they come at a similar price point.
Dryvenck 2-Piece Dryer Vent Brush
PetOde 2-Piece Dryer Vent Cleaner Kit
Signs you need to clean your dryer vent
Homes that use their washer and dryer more frequently, like those with large families or owners of multiple pets, may need to consider more frequent dryer vent cleaning. You’ll start noticing warning signs when it’s time to clear out the buildup, as it affects the performance of your dryer. If you notice any of the following signs, it’s time to get started on cleaning your dryer’s vent:
- Clothes take longer to dry or feel hotter at the end of the cycle.
- When operating the machine, the dryer feels hotter to the touch than normal.
- Running your dryer comes with a burning smell.
- Excessive lint is everywhere, on the dried clothes and building up around the trap’s receptacle and vent, yet somehow the lint trap is catching less than normal.
- Decreased airflow from the vent, resulting in an unusually humid laundry room.
- Look at the exhaust vent on the exterior of your home. Do you happen to see any birds or pests nearby? If so, this could mean there is a blockage that needs to be removed.
Why should you clean your dryer vents?
There are three vital reasons you should clean your dryer vents regularly. First and foremost, a lint-filled vent can become ignited and lead to a devastating house fire. In 2012, the U.S. Fire Administration released a report estimating that clothes dryer fires account for five deaths, 100 injuries, and $35 million in property loss per year. The leading factor for these residential building fires was reported as a “failure to clean,” with dust, fiber, and lint as the leading contributors that first ignite the blaze.
The performance of your dryer is also affected when it’s not properly cleaned. When the exhaust and vent are filled with lint, the airflow is reduced, taking it longer to dry your clothes. A dryer clogged with lint has to work overtime, expending more energy to do the same job with lesser results, so your dryer (and the clothing inside) is going through additional wear and tear. Over time, this could mean you need to fix broken parts or completely replace your machine because of the increased burden on the unit.
The extra energy spent running a dryer with a lint-filled vent will also impact your utility bill. Whether you have a gas or an electric dryer, your energy usage could skyrocket from this issue that has a simple fix.
How to clean a dryer vent
You can hire a professional to clean your dryer vent, but it’s really not too much work to do it yourself, and the tools cost $20 at most. We’ve detailed the basic steps below to see if it’s a cleaning project you’re up to:
- Unplug and disconnect the dryer. Unplug the dryer from the outlet and turn off any gas valves if necessary. Next, locate the dryer vent, a hole at the back of the dryer with a long vent tube coming out of it. You’ll also want to make a trip outside to find the dryer vent cover, which also needs to be removed to start the cleaning process.
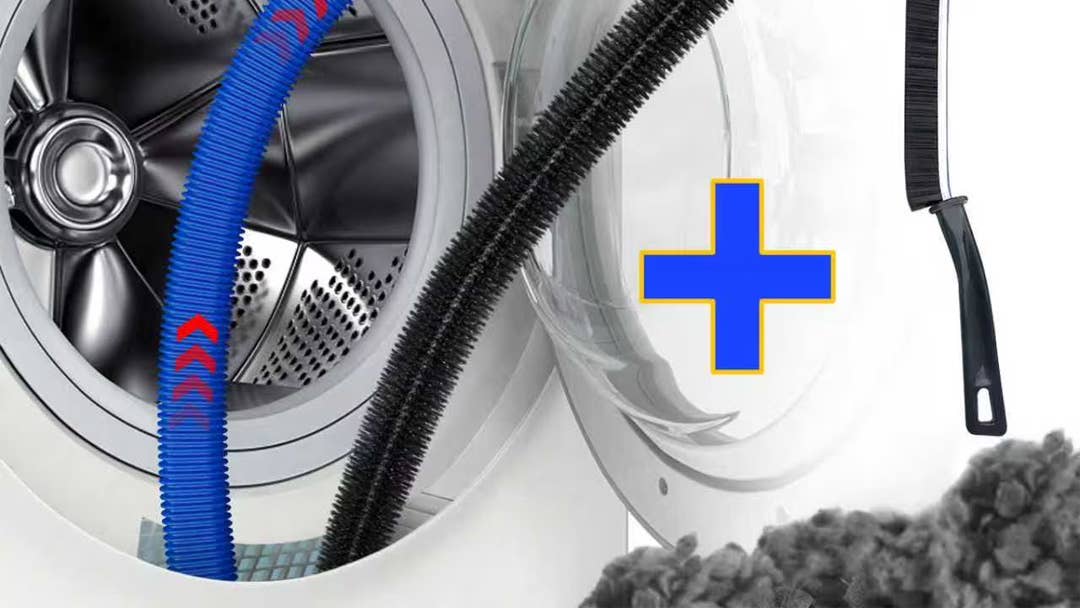
- It’s time to start cleaning. Use the long, flexible brushes to really get into all the vent grooves and dislodge any packed-in dust and debris throughout the tube and around the holes you just disconnected. Use a vacuum as you go to get all the little particles. You’ll also want to run your vacuum and brush in the lint trap area on the front of the dryer.
- Put it back together. Once your dryer is lint and dust-free, it’s time to reassemble the pieces you disconnected. As a note, accordion-style and plastic vent ducts are more susceptible to sagging and trapping pieces inside, so you should look for an updated replacement at your local hardware store.
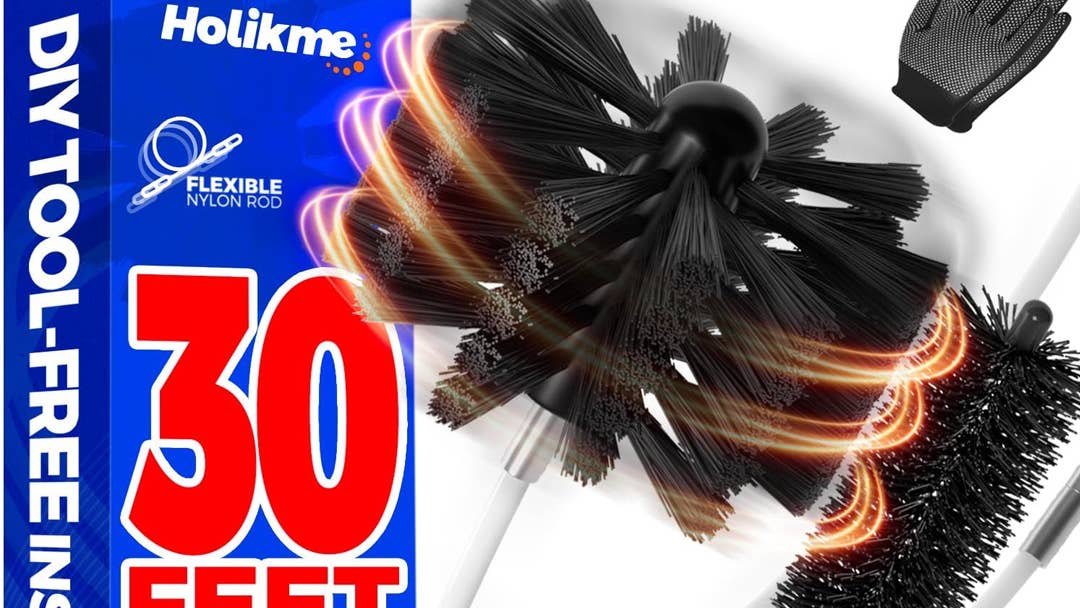
Holikme 30-Feet Dryer Vent Cleaner Kit
Dryvenck 4-Piece Dryer Vent Cleaning Kit
TheStreet Shopping is your guide for shopping insights and advice. We look beyond the price tag to find the best value in home, tech, and wellness gear based on product features and real-world use.